How to Check Whether Your IP Address Is Blacklisted
A practical guide for admins and small businesses showing how to check if an IP is blacklisted, interpret results, and request delisting.

Your emails aren’t getting through. Your website is blocked. Customers can’t reach your server. The culprit might be your IP address—blacklisted for spam, malware, or other abuse. But how do you know for sure, and what do you do about it?
This guide walks you through checking if your IP is blacklisted, interpreting the results, and getting it removed. We’ll cover the most common causes, the tools to diagnose the problem, and the steps to fix it—permanently.
Why Would Your IP Address Be Blacklisted in the First Place?
IP blacklisting happens when your IP is flagged for malicious or abusive activity. The most common reasons:
- Spam: If your server or a device on your network sends unsolicited emails, blacklists will catch it. This includes compromised devices (like an infected PC or IoT gadget) or misconfigured mail servers (like an open relay).
- Malware: If your IP is distributing malware, blacklists like Spamhaus will block it to prevent further harm.
- Proxy/VPN abuse: If your IP is part of a VPN or proxy network used for malicious activity, it may be blacklisted to block fraud or scraping.
- Shared hosting issues: If you’re on a shared server, another user’s spam or malware can get your IP blacklisted too.
IP reputation matters. Even if you’re not sending spam, a high bounce rate or spam complaints can drag your IP’s reputation down. Once listed, email providers and security systems will reject traffic from your IP.
How Do IP Blacklists Actually Work?
Blacklists use DNS-based systems (DNSBLs or RBLs) to flag malicious IPs. DNS-based systems (DNSBLs or RBLs) are queried in real time by receiving mail servers. Here’s how it works:
- A mail server (or security system) checks an incoming IP against a blacklist by performing a DNS lookup.
- If the IP is listed, the lookup returns a specific code (like 127.0.0.2) indicating the reason for the listing.
- The receiving server then blocks or flags the traffic based on that result.
Blacklists gather data from multiple sources, including:
- Spam traps: Email addresses set up to catch spam (pristine traps are unused; recycled traps were once legitimate but are now abandoned).
- User complaints: Email providers forward spam complaints to blacklist operators.
- Automated analysis: Systems scan for patterns like high-volume sending or known malware signatures.
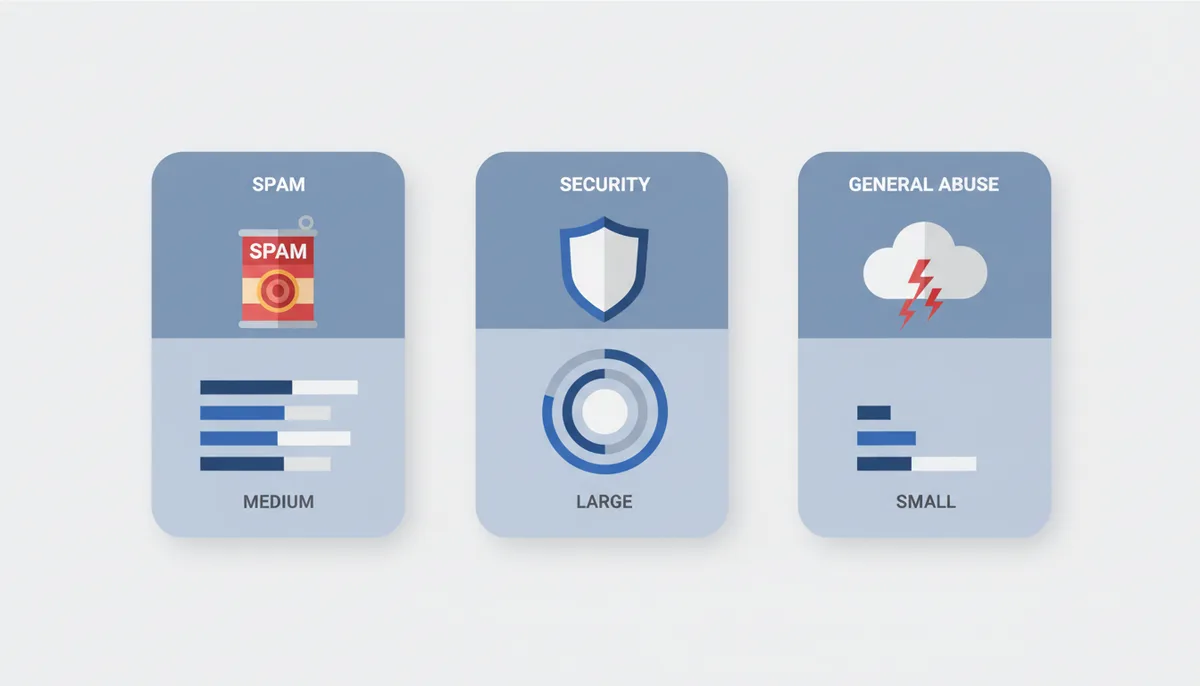
Not all blacklists are the same. Some focus on spam, others on malware, and a few on open proxies or botnets. The impact depends on which lists have you.
The Quickest Way to Check: Using a Multi-RBL Tool
The fastest way to diagnose a blacklisting issue is with a multi-RBL tool. But first, you need to identify the correct IP address to check. Here's how to find it and what to record:
- Determine which IP to check:
- For email delivery problems, check your mail server's outbound IP (not your public IP). Find it in:
- Bounce messages (look for "Received from" headers)
- Mail server logs (search for "sending IP" or "outbound IP")
- Your hosting provider's control panel (e.g., cPanel, Plesk)
- For website blocks, check your server's public IP (use WhatIsMyIP or ask your host)
- For shared hosting, check both your public IP and the server's mail server IP
- For email delivery problems, check your mail server's outbound IP (not your public IP). Find it in:
- Check both IPv4 and IPv6 addresses (some blacklists track both)
- Use a multi-RBL checker (like WhatIsMyIP or MXToolbox)
- Record these details for each listing:
- Blacklist name (e.g., Spamhaus ZEN)
- Status (Listed/Not Listed)
- Reason/return code (e.g., 127.0.0.2 for Spamhaus)
- Lookup URL (for reference)
- Timestamp (when you checked)
Example diagnostic workflow:
You receive bounce messages with errors like "554 5.7.1 Service unavailable; client [203.0.113.45] blocked". You check this IP and find:
- Spamhaus ZEN: Listed (Reason: Spam activity detected)
- Next action: Investigate mail server logs for spam
- Delisting path: Fix spam issue, request removal via Spamhaus
- SORBS: Listed (Reason: Open proxy detected)
- Next action: Test for open proxies using tools like Abuse.net
- Delisting path: Close open proxy, request removal via SORBS
If your IP is clean, the problem might be your domain (check URIBLs) or email authentication (verify SPF/DKIM/DMARC).
Interpreting the Results: What Does a 'Listed' Status Really Mean?
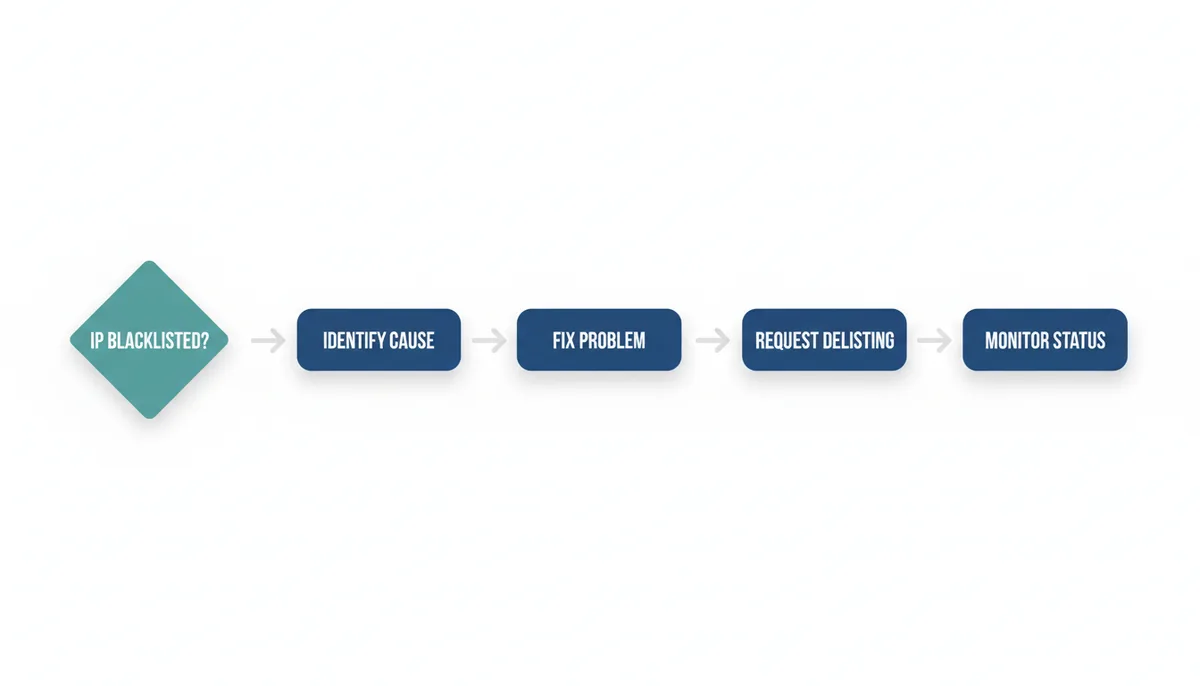
Not all blacklists are equally important. Here's how to prioritize and respond to different listing types:
| Blacklist Type | Typical Indication | Delivery Impact | First Investigation | Delisting Path | Source |
|---|---|---|---|---|---|
| Spamhaus SBL/ZEN | Spam, botnet, or malware distribution | Critical - blocks by most major providers | Mail server logs, malware scans | Fix issue, submit via Spamhaus lookup | Spamhaus |
| Barracuda BRBL | Temporary spam activity | Moderate - auto-removes after 24-48 hours if clean | Recent mail activity, bounce logs | Often auto-removes; may request via Barracuda Central | Barracuda |
| Microsoft/Outlook blocks | Spam complaints or poor reputation | High - affects Microsoft 365 and Outlook users | SMTP logs, complaint feedback loops | Submit via Microsoft SNDS or JMRP | Microsoft |
| SORBS or smaller RBLs | Open proxies, open relays, or dynamic IPs | Moderate - affects some providers | Proxy/relay tests, ISP information | Fix issue, request via SORBS | SORBS |
| Open proxy listings | Misconfigured server allowing proxy use | High - blocks by security-conscious providers | Proxy tests, firewall logs | Close proxy, request removal | Spamhaus FAQ |
| Domain/URI blocklists | Domain found in spam emails | High - affects email deliverability | Email content, domain reputation | Fix domain issues, request removal | URIBL |
When your IP is listed, you'll typically see SMTP errors like:
- 550 - Mail rejected (most common)
- 554 - Transaction failed (temporary block)
- 421 - Service not available (often temporary)
Some blacklists provide more detailed error codes. Always check the blacklist's website for specific information about your listing.
The Delisting Process: A Step-by-Step Guide to Getting Your IP Removed
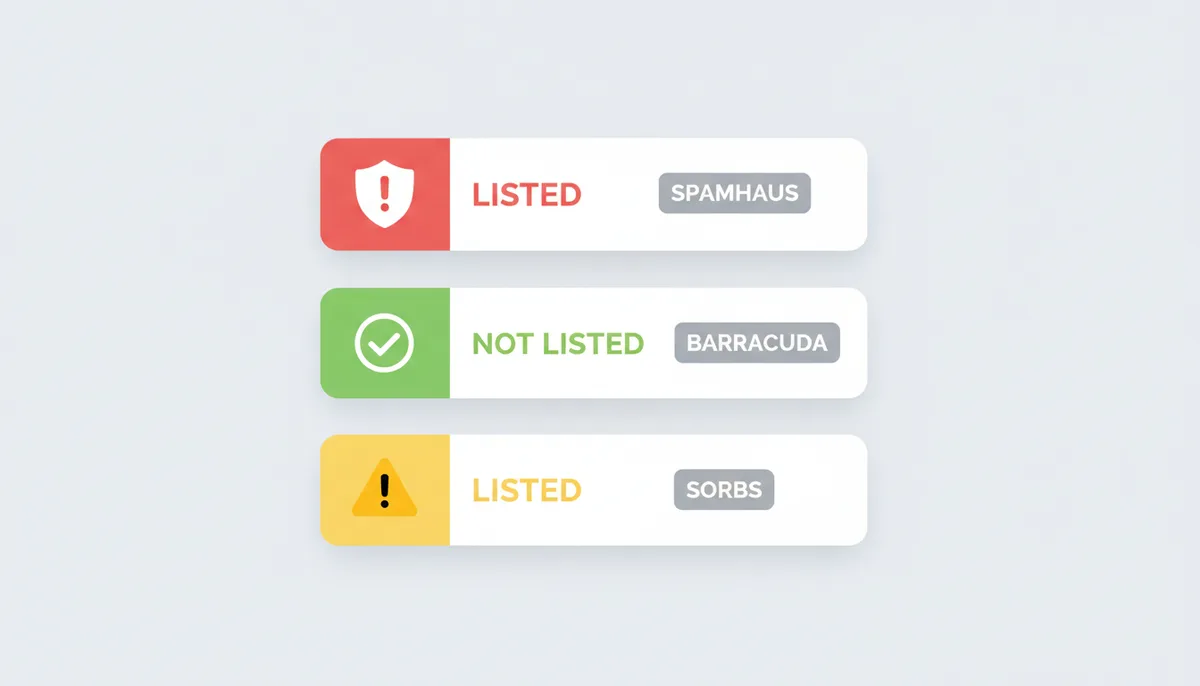
Before requesting removal, you must fix the underlying problem. Blacklists won't delist you if the issue persists. Here's the complete process with concrete evidence requirements and a request template:
- Identify the root cause:
- Check mail server logs for spam activity
- Scan for malware using tools like ClamAV or Malwarebytes
- Test for open relays/proxies using Abuse.net
- Verify email authentication (SPF, DKIM, DMARC)
- Fix the problem:
- Remove malware from all devices on the network
- Close open relays/proxies in your mail server
- Update server software to patch vulnerabilities
- Disable compromised accounts
- Clear outbound mail queues of suspicious messages
- Correct SPF/DKIM/DMARC records if needed
- Gather evidence: Collect these documents to prove the issue is resolved:
- Malware scan results showing no threats
- Open relay test results showing no vulnerabilities
- Server version/patch information
- Disabled account information
- Cleared queue confirmation
- Email authentication record verification
- Mail server logs showing no recent spam
- Visit the blacklist's website: Use their official lookup/removal tool (e.g., Spamhaus)
- Submit a delisting request: Use this template as a guide:
Subject: Delisting request for [Your IP Address]
Dear [Blacklist Name] Team,
We have identified and resolved the issue that led to our IP [Your IP] being listed. The problem was [brief description].
Evidence of resolution:
- [List evidence items with dates]
We have implemented additional security measures to prevent recurrence, including [list measures].
Please review our request and remove [Your IP] from your blacklist. We appreciate your time and service.
Sincerely,
[Your Name]
[Your Contact Information]
[Your Organization]
- Monitor your IP:
- Use a multi-RBL tool to confirm removal
- Check mail delivery logs for continued issues
- Set up regular reputation monitoring
Important notes:
- Never pay for delisting. Legitimate blacklists don't charge for removal.
- If the blacklist requires you to contact your ISP/hosting provider, do so immediately.
- Switching to a new IP should only happen after the root cause is fixed and through proper channels with your provider.
- Some blacklists may require you to wait 24-48 hours after fixing the issue before requesting removal.
If you're unable to get delisted after proper remediation, contact the blacklist's support team for further assistance. Persistent issues may require working with your hosting provider or email service provider to resolve.
How to Stay Off Blacklists for Good
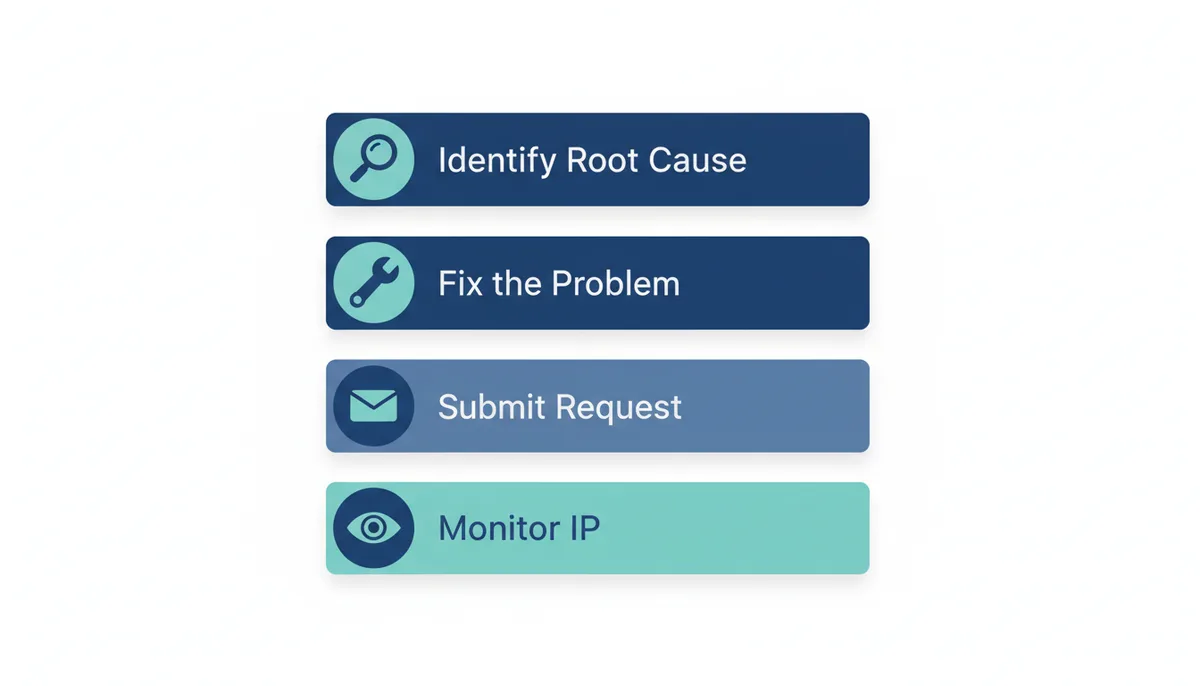
Prevention is easier than cleanup. Here’s how to avoid blacklisting:
- Secure your network: Use strong passwords, update software, and scan for malware regularly.
- Configure your mail server properly: Disable open relays, set up SPF, DKIM, and DMARC.
- Monitor your IP reputation: Use tools like WhatIsMyIP’s blacklist checker to catch issues early.
- Manage email lists carefully: Use double opt-in, clean inactive subscribers, and monitor bounce rates.
- Use a dedicated IP (if possible): Shared IPs can get blacklisted by other users’ actions.
If you’re on a shared hosting plan, contact your provider if your IP is blacklisted. They may need to intervene.
Special Cases: Shared Hosting, Dynamic IPs, and VPNs
Some situations complicate blacklisting:
- Shared hosting: If another user on your shared IP sends spam, you’ll be affected. Contact your host to request a new IP or ask them to fix the issue.
- Dynamic IPs: If your ISP assigns you a previously blacklisted IP, restart your router to get a new one.
- VPNs: Many services block VPN IPs to prevent abuse. If you’re using a VPN, you may fail CAPTCHAs or get blocked by websites.
How Blacklists Affect Email Delivery (and How to Fix It)
Being blacklisted doesn’t just mean your emails might get blocked—it can destroy your sender reputation, which takes months to rebuild. Here’s how blacklists impact email delivery and what you can do to mitigate the damage.
When your IP is blacklisted, email providers (like Gmail, Outlook, or corporate mail servers) check your IP against their own blacklists or third-party services. If you’re listed, your emails may:
- Be rejected outright (SMTP error 550 or 554).
- Go to the spam folder (even if you’re not fully blocked).
- Be delayed (some systems throttle traffic from blacklisted IPs).
- Trigger additional scrutiny (your emails may be scanned for malware or phishing).
Even if you’re only on a small blacklist, the cumulative effect can be devastating. For example:
- Your open rates drop because emails aren’t reaching inboxes.
- Your domain reputation suffers, making future emails more likely to be flagged.
- Your IP may be flagged by other security systems (like firewalls or CAPTCHA services).
To fix this, you need to:
- Identify the blacklists causing the most damage (use a multi-RBL tool to prioritize).
- Request delisting only after fixing the issue (blacklists will re-list you if the problem persists).
- Warm up your IP again (if your reputation is severely damaged, send small batches of emails first).
- Monitor your sender metrics (bounce rates, spam complaints, and engagement rates).
If you’re running a business, the cost of blacklisting isn’t just lost emails—it’s lost revenue. A single blacklisting incident can take weeks to fully recover from, and during that time, your email marketing ROI plummets.
The Hidden Dangers of Shared IPs and How to Protect Yourself
If you’re on a shared hosting plan or using an email service provider (ESP) with a shared IP, you’re at risk of being blacklisted by someone else’s actions. Here’s how it happens—and how to defend yourself.
Shared IPs are common in budget hosting and ESPs (like Mailchimp or SendGrid). The problem? If another customer on the same IP sends spam, your emails get blocked too. Even if you follow all the rules, you’re still vulnerable.
Here’s what to watch for:
- Sudden drops in deliverability (your emails stop reaching inboxes without warning).
- Increased bounces (more 550 or 554 errors than usual).
- Blacklist notifications (check your IP regularly with a multi-RBL tool).
If you suspect a shared IP issue, here’s what to do:
- Check your IP’s reputation (use a tool like WhatIsMyIP’s blacklist checker).
- Contact your hosting provider or ESP (ask if another user on your shared IP was flagged).
- Request a new IP (some providers will assign you a dedicated IP for a fee).
- Switch to a dedicated IP if possible (this is the only way to fully avoid shared IP risks).
The cost of a dedicated IP varies—some hosts charge $5–$10/month, while others include it in higher-tier plans. If email deliverability is critical for your business, it’s worth the investment.
If you can’t get a dedicated IP, at least monitor your IP’s reputation daily. The sooner you catch a blacklisting, the faster you can fix it.
What Happens When a Blacklist Won’t Delist You (and What to Do Next)
Most blacklists follow a straightforward process: fix the problem, request removal, and you’re delisted. But sometimes, blacklists refuse to remove your IP—even after you’ve fixed the issue. Here’s why it happens and how to handle it.
Common reasons for failed delisting requests:
- Insufficient evidence (you didn’t provide logs or proof of the fix).
- Repeated offenses (your IP was listed multiple times in the past).
- Automated systems flagging you (some blacklists rely on algorithms that don’t always get it right).
- Misconfigured mail server (you thought you fixed it, but the issue persists).
If a blacklist refuses to delist you, here’s what to do:
- Double-check your fix (run a full security scan, review mail server logs).
- Contact the blacklist operator directly (some have support channels for disputes).
- Appeal with additional evidence (provide logs, screenshots, or third-party reports).
- Use a third-party reputation service (some companies help with stubborn blacklistings).
- Switch to a new IP (if possible) (if the blacklist is too stubborn, a fresh IP may be the only solution).
Some blacklists, like Spamhaus, have a reputation for being strict. If they won’t delist you, your best bet is to:
- Wait 30 days (some blacklists auto-remove IPs after a set time).
- Use a dedicated IP moving forward (to avoid future issues).
- Implement stricter security measures (to prevent re-listing).
If you’re running a business, the cost of a stubborn blacklisting can be high. Lost emails mean lost revenue, and rebuilding your reputation takes time. In some cases, it’s cheaper to switch IPs than to fight a blacklist.
The Dark Side of Free Blacklist Removal Services (and Why You Should Avoid Them)
If you’ve ever searched for "how to remove my IP from a blacklist," you’ve probably seen ads for services offering instant delisting for a fee. These services claim to get you off blacklists fast—but most are scams. Here’s why you should avoid them.
How these scams work:
- They charge you upfront (often $50–$200) with no guarantee of results.
- They submit fake delisting requests (using automated tools that don’t actually fix the problem).
- They disappear after payment (no refunds, no support, no real help).
- They may make the problem worse (some blacklists penalize repeated failed requests).
Legitimate blacklists (like Spamhaus, Barracuda, or SORBS) never charge for delisting. If a service asks for money, it’s a scam. The only way to get off a blacklist is to:
- Fix the underlying issue (remove malware, secure your mail server, etc.).
- Submit a removal request directly to the blacklist (most have free self-service tools).
- Wait for approval (some require manual review, which can take days).
- Monitor your IP afterward (to ensure you stay off the list).
If you’re desperate to get off a blacklist, the only safe options are:
- Use the blacklist’s official removal tool (always free).
- Hire a reputable email deliverability consultant (some offer legitimate help for a fee).
- Switch to a new IP (if the blacklisting is too severe).
The cost of using a scam service is more than just wasted money—it can delay your delisting and damage your reputation further. Stick to official channels, and you’ll save time and frustration in the long run.
FAQ
How long does it take to get delisted from a blacklist?
It varies. Some blacklists (like Barracuda BRBL) auto-remove you after 24-48 hours if no further spam is detected. Others (like Spamhaus) require manual review, which can take days. The key is proving you’ve fixed the problem.
Can I pay to be removed from a blacklist?
No. Legitimate blacklists don’t charge for removal. If a service offers paid delisting, it’s a scam. Removal is free but requires fixing the underlying issue.
What’s the difference between a ‘blacklist’ and a ‘blocklist’?
The terms are interchangeable. ‘Blocklist’ is now preferred as a more neutral term, but ‘blacklist’ is still widely used. Both refer to real-time lists of IPs or domains involved in malicious activity.
If I’m on one blacklist, does that mean I’m on others?
Not necessarily, but it’s common. Many blacklists share data, so the same issue (like spam) will often get you listed on multiple systems. That’s why using a multi-RBL checker is the best way to see the full picture.
My IP is clean, but my emails are still blocked. Why?
Email blocking can also be due to your domain’s reputation, not just your IP. Your domain might be on a URIBL (a blacklist for domains found in spam emails), or you may have issues with your SPF, DKIM, or DMARC authentication records.
Will I be automatically re-listed if the problem happens again?
Yes. Blacklist monitoring is automated. If the same issue (spam, malware, misconfiguration) is detected again, your IP will be re-listed, and future delisting requests may be harder to approve.
Sources
- IETF (Internet Engineering Task Force) — The technical basis for DNSBLs, specifically RFC 5782 which defines 'DNS Blacklists and Whitelists'.
- MXToolbox — The methodology of using a multi-RBL lookup tool to check an IP against many lists at once.
- Microsoft Sender Support — Information on troubleshooting email delivery issues with Microsoft properties (Outlook, Hotmail), including the role of IP reputation and blocklists.
- Barracuda Central — Documentation and lookup tools for a specific, widely used blocklist (the BRBL), serving as a primary source example.